Database needed for Server viewer.
Last changed: 05 January 2025
Five steps
There are five steps that needs to be done to get the program to work.
- Create the database ServerViewer (see script below) with the table Servers on a SQL server = your monitor server.- Insert the monitor servername into the table Servers (see script below).
- Download and unzip the zipfile.
- Open the config file and update the domain name and servername.
- Start the program.
The database needed for the program Server viewer can be created with the script below.
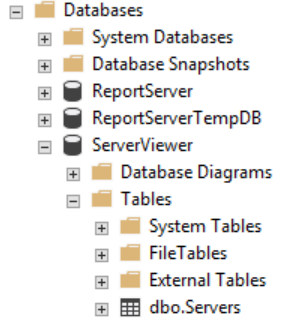
After execution of the script the database 'ServerViewer' will be created. It will contain one table called 'Servers'.
In this table the SQL servers should be added in order to be able to run queries on them.
The table 'Servers' could look like this after you have inserted six servers. The first record is our monitor server:

Script for creating the database 'ServerViewer'
Here is an example where the monitor server is called: Server1. Replace this by your own monitor servername.
Add 1 server now (the monitor server = server that contains the previously created database 'ServerViewer') to the table 'Servers'.
If the domain is the same as in the config file (see blue marked above and also button Download), then Windows authentication will be used to connect to this server
if you execute a query. This is the account which is used for starting the program.
With this account a connection to others servers is made if the domain is the same. Is the domain not the same then SQL authentication will be used.
Add the monitor server 'Server1' by running this script: (modify it according your preferences).
Some fields like [ScanFreeDiskSpace], [ScanHardening], [ReadErrorLog] and [ReadSQLCounter] can be used for other purposes.
Now go to Download and download the program with lots of SQL queries.